Saving Photographs in 7 Steps

Preserving family photographs is a vital task for ensuring their longevity and preserving memories for future generations. Unfortunately, many people don’t know where to start when it comes to preserving and storing their family photos. In this blog post, we’ll provide step-by-step instructions to help you preserve, store, and archive your family photographs.
Step 1: Gather Your Photographs
The first step in preserving your family photographs is to gather them all together. Go through old boxes, albums, and scrapbooks to find as many photos as possible. Try to be as comprehensive as possible, so you don’t miss any important images.
Step 2: Sort and Clean Your Photographs
Once you’ve gathered your photographs, the next step is to sort and clean them. Go through each photo and categorize them based on subject matter or time period. Clean each photo by gently wiping it with a soft, dry cloth to remove any dust or dirt. If a photo is particularly dirty or has scratches, it may need to be professionally cleaned or restored.
*It is important to note that you should only write on the back of photographs with archival quality pens as certain ink can damage photographs during long term storage.
Step 3: Digital Preservation
Digitizing your photographs is a crucial step in preserving them for future generations. Digital preservation allows you to make multiple backups of your photos and protect them against loss or damage. There are several ways to digitize your photos, including scanning them yourself or using a professional service. When digitizing your photos, make sure to save the digital files in a high-resolution format, such as TIFF. If that is not possible, you can use the more familiar JPEG or PNG file formats.
Step 4: Store Your Physical Photographs
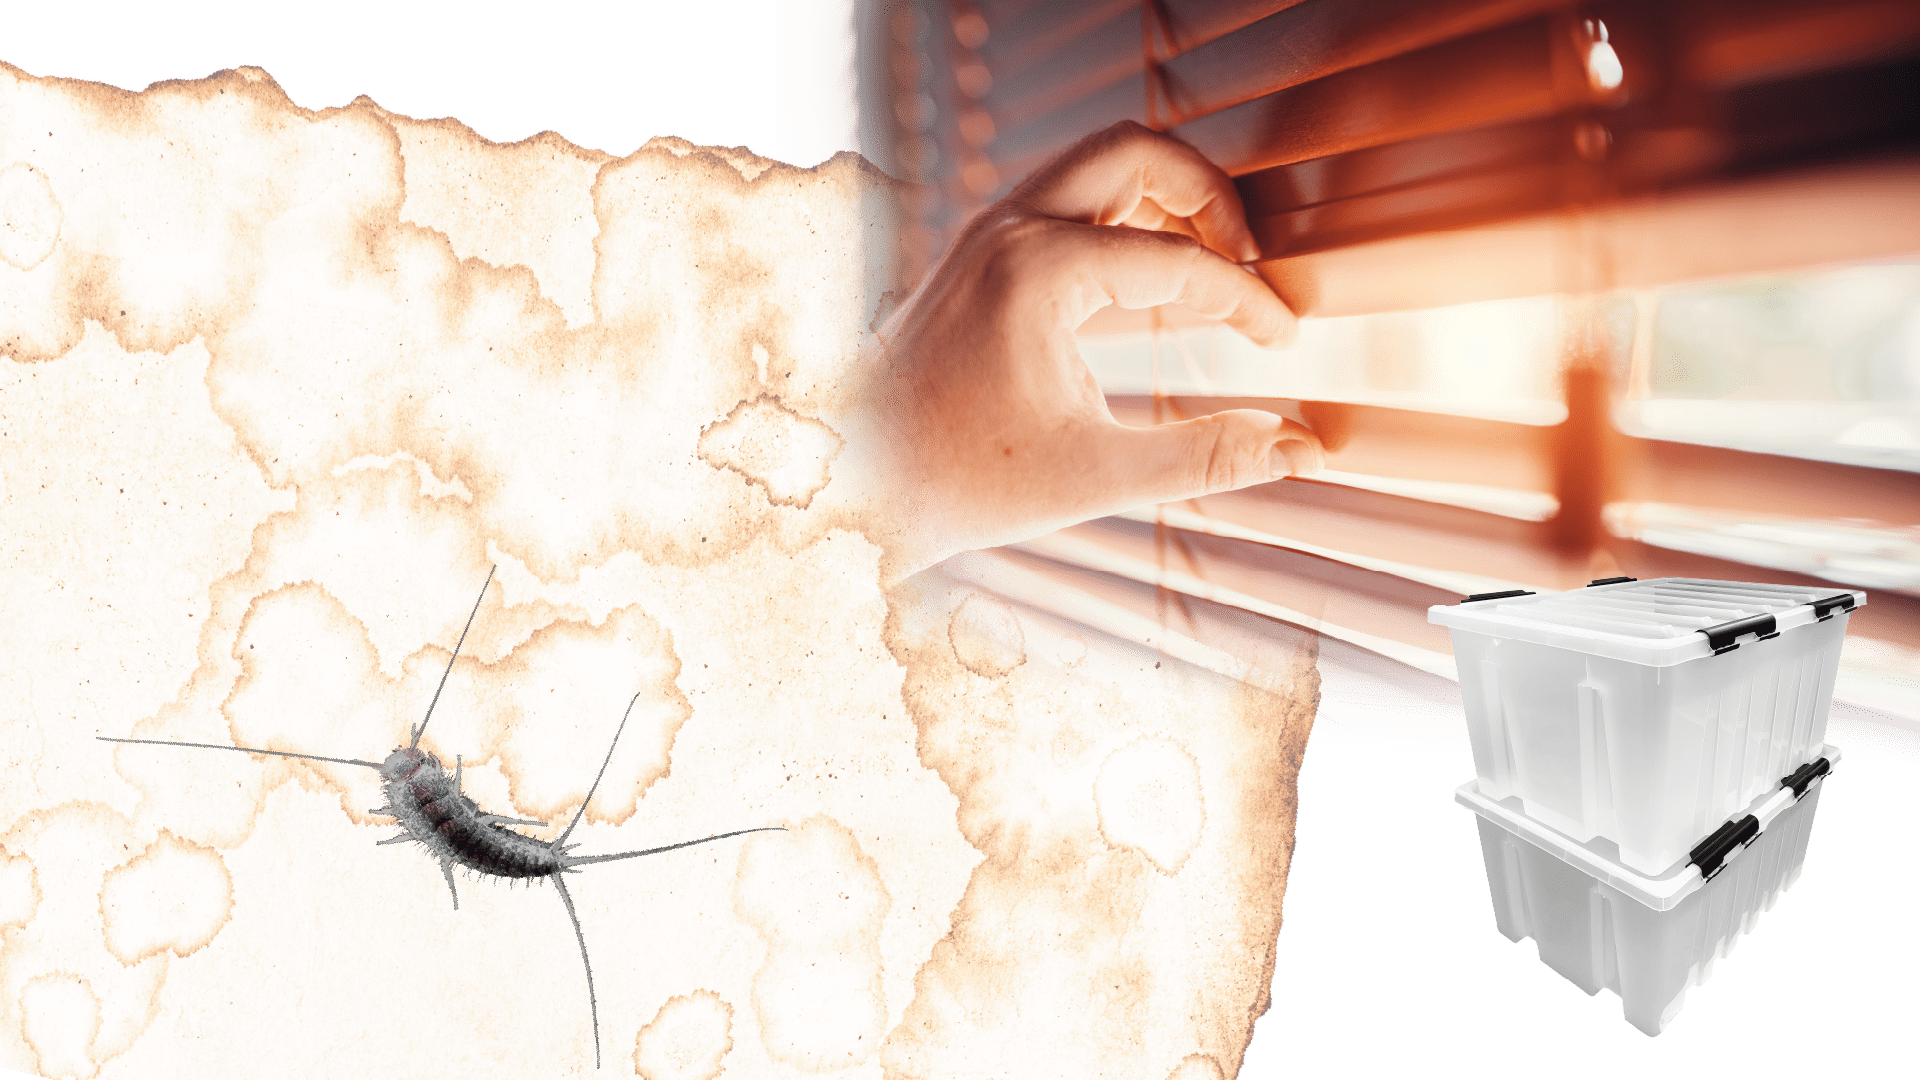
Once you’ve digitized your photos, it’s time to store the physical copies. Store your photos in a cool, dry place, away from direct sunlight and sources of humidity. Keep them away from heat sources, such as radiators and fireplaces, and avoid stacking them on top of each other. Store your photos in acid-free, archival-quality boxes, envelopes, or sleeves to protect them from the elements and keep them organized.
Step 5: Label and Organize Your Photographs
Labeling and organizing your photographs will make it easier for you and future generations to find the photos you’re looking for. Write the date and any other relevant information on the back of each photo or on a label attached to the back of the photo. If you’re storing your photos in an album or scrapbook, make sure to label each page with the date and subject matter.
Step 6: Backup Your Digital Files
After digitizing your photos, it’s essential to make multiple backups to protect against loss or damage. Store digital copies on multiple hard drives, or in the cloud, to ensure that they are safe and accessible. Consider using a cloud-based service that automatically backs up your files, such as Google Photos or Dropbox.
Step 7: Regularly Check on Your Photographs
Finally, make sure to regularly check on your stored photographs to ensure that they are in good condition. Check for signs of damage, such as fading, discoloration, or mildew, and take action if necessary. If you notice any damage, consider having the photo professionally restored to preserve it for future generations.
Conclusion
Preserving family photographs is an important task that will ensure that your memories are passed down for generations to come. By following these steps, you can protect your photos from damage, keep them organized, and make sure that they are accessible to you and future generations. Don’t wait any longer – start preserving your family photographs today!